Sunday, 20 October 2013

Escalope of Chicken with a Sourdough Breadcrumb and Herb Crust

Yeah, ok - it's a fancy title for a pan-fried chicken and mash dish... Packed with flavour, though, it certainly punches its weight.

Why the sourdough breadcrumbs? Because I was baking some sourdough and left it too long in the oven. I cut off the black exterior and managed to rescue the inside so I decided to whizz it up into breadcrumbs. Use ordinary breadcrumbs, though, why don't you? Slightly stale bread works well. You'd throw it out anyway so why not convert into breadcrumbs?

It's the herbs and the subtle undercurrent of garlic that make the dish. I reckon fresh herbs will work best and I used a combination of basil, coriander, rosemary and chives. There are certainly other combinations which could work as well - just experiment!


Cost per person: 3.25 zl (65 UK pence, 77 Euro cents)

What you'll need for the breadcrumbs:

- some bread past its peak (but not mouldy!), sourdough in my case
- a couple of handfuls of chopped up herbs

1. Whizz up the bread in a blender till quite fine

2. Grab some herbs


3. Chop them up


4. Add to the breadcrumbs


What you'll need for the mash:

- 600g of peeled potatoes
- water
- salt
- a dollop of butter and cream

1. Peel the spuds (that's what we Northerners call potatoes, you young budding English students out there!) and cut in half. Add to a pan of water. The water should just cover the potatoes. Add a tsp of salt. Always put potatoes in water after peeling - they'll discolour otherwise.


Now that it's all prepped, let's get cracking!

What you'll need for the chicken:

- 500g chicken breast
- the breadcrumb mix
- 2 eggs
- a little flour
- a clove of garlic
- salt and pepper to taste
- 2-3 tbsp olive oil

1. Trim the chicken breasts. Put inside a plastic bag. Flatten with a kitchen mallet. 


2. Remove from the bag and cut up into medium sized pieces


3. Flour on all sides


4. Dip in the egg


5. Coat in the breadcrumb mix


6. Get the potatoes on. Bring to the boil covered then turn the heat down to a rolling boil. They should be soft after around 15-20 minutes. 

7. Bash a clove of garlic under the blade of your chef's knife.


8. Olive oil in a hot frying pan. Chicken in


9. Add the garlic to a free space in the pan. The idea is to infuse a subtle garlicky nuance to the dish. Remove the garlic as soon as it starts to brown - we don't want the bitterness of burnt garlic to spoil the flavour.


10. After 5 minutes, turn over the chicken and fry the other side. After 5 minutes, turn over again to the original side and season well with salt.


11. Season with a good dose of black pepper


12. Remove the chicken onto some kitchen roll to absorb the excess oil. 

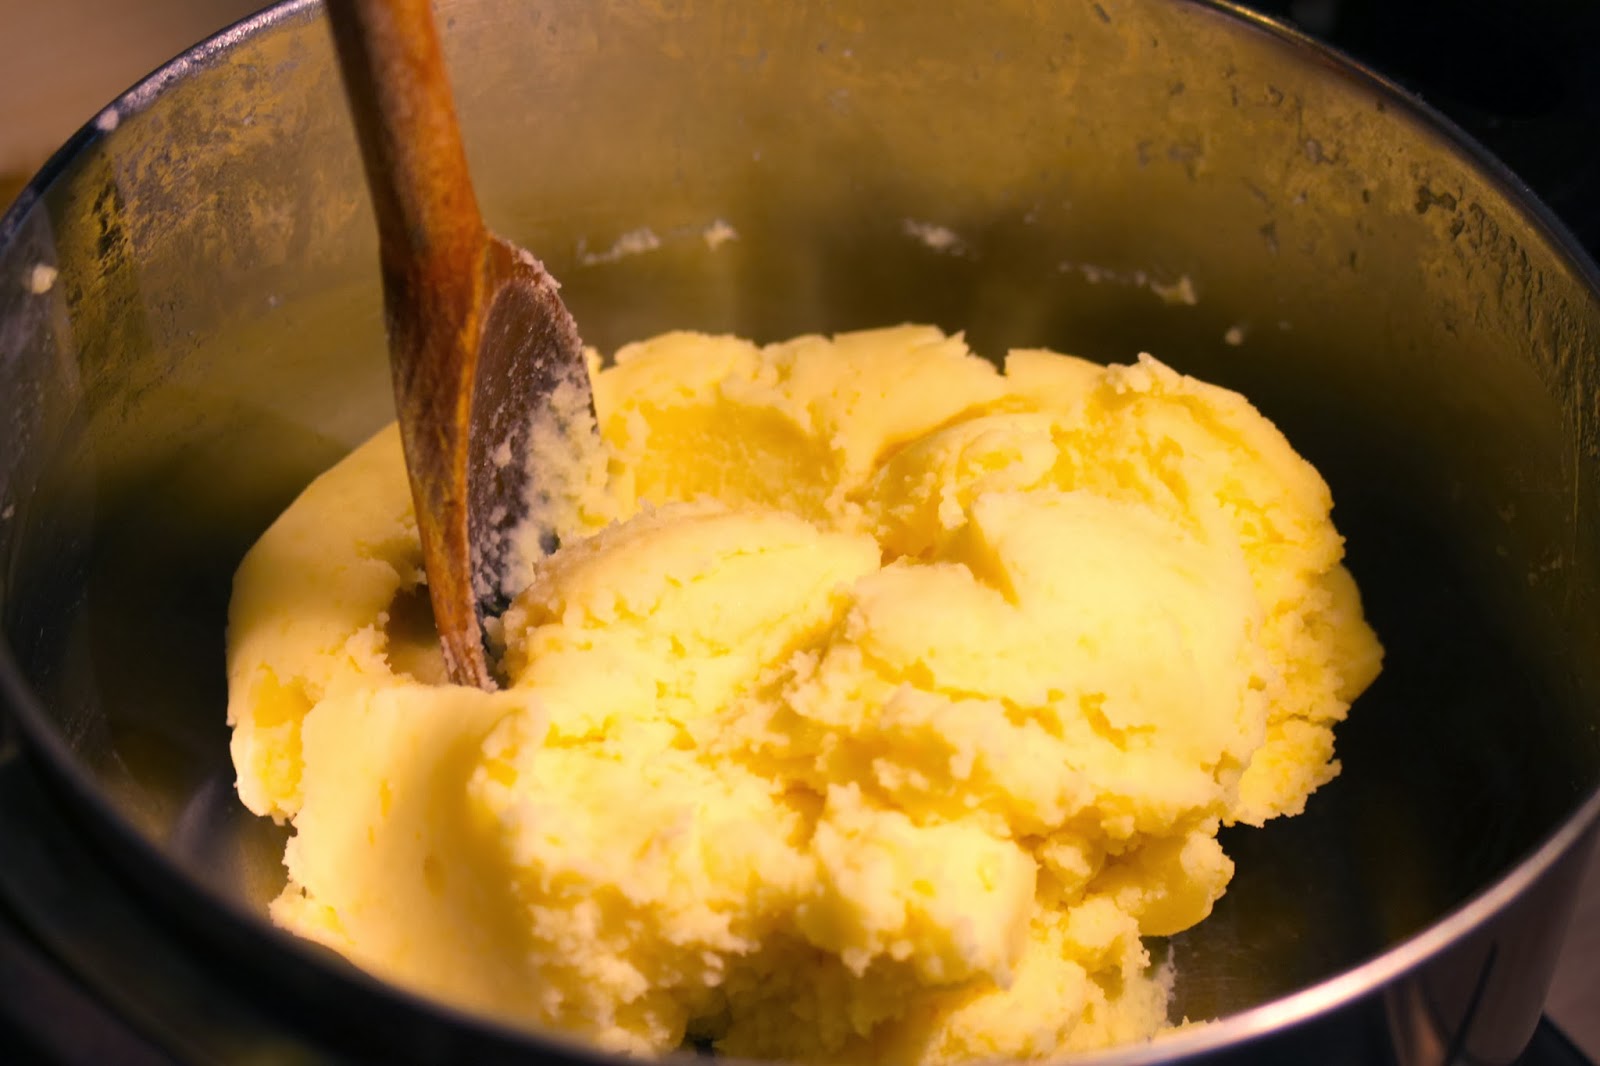
13. Check the potatoes are done - if a fork passes through easily then they're there! Drain the water. Add a dollop of butter and cream.


14. Mash very well. 

15. Serve with a salad and enjoy!

What did this cost?

- the breadcrumbs: the leftover bread was free. The herbs, a negligible: 0.20 zl
- the potatoes: 0.90 zl
- the chicken: 7.50 zl
- the eggs: 1.40 zl
- the salad: 2.50 z
- the rest: 0.50

Total cost: 13 zl
Serves: 4
Cost per person: 3.25 zl

Sunday, 13 October 2013

Potato, Pea and Green Bean Samosas

This moorish and spicy Indian vegetarian snack will have you coming back for more ... and more ... and more! Perfect to make and then freeze - you can keep a stock of them and just pull them out as required and even deep fry from frozen.

I like to serve with either plain yoghurt or a mint and coriander yoghurt dip cos that's just the kind of guy I am!


Cost per samosa: 0.50 zl (that's 10 UK pence, my friends, and 16 US cents)

You'll need for the filling:

- around 2-3 boiled and mashed potatoes (use your leftovers!)
- a handful of frozen peas
- a handful of frozen green beans
- 2 finely chopped onions
- 2 cloves finely chopped garlic
- 1 inch finely chopped ginger
- 2-3 (depends how hot you like it) finely chopped chillies (red or green, whatever you have in)
- 1 tsp cumin seeds
- 1/2 tsp turmeric
- 1 tsp coriander powder
- 1/2 tsp garam masala
- juice of half a lemon
- salt to taste

1. Cumin seeds in a little oil in a wok. Medium heat.


2. Meanwhile, steam the green vegetables for around 20 minutes till soft


3. Add the onions to the cumin seeds

4. Prep the ginger, garlic and chillies


4. After around 5 minutes, add the ginger and garlic


5. After another 5 minutes, chillies in


6. Spices in


7. Potatoes in


7. Lemon juice


8. Get the veg in and check seasoning. Add more salt if required


9. Congratulations! The filling is ready!


You'll need for the pastry:

- 1/2 kg plain flour
- 1-2 tsp salt
- 2 tbsp veg oil
- water to bind

1. Get the flour in a bowl. Mix in the salt. Make a well in the middle


2. Pour the oil in the well


3. Work in with your hands - make sure the flour and oil are well combined


4. Work in some water little by little. Get your hands in there! Make a stiffish dough.


5. Leave the dough to rest in the fridge for 15 minutes.

6. Divide the dough into pool-ball sized lumps. Flour a surface and roll one out this thin:


7. Divide this in two. It's good for 2 samosas. Take one of the halves. Fold over from one side to the other like this and seal by pressing the join together as so:


8. Take this cone in your hand and open up ready to fill like this:


9. Fill that baby!


10. Close over the top and press to seal like this:


Or like this if you like:


11. Bag up (separate plastic bags so they don't stick together) and freeze! But keep 2 out because we'll be frying them up in a sec!

You'll need for the dip:

- a handful of coriander leaves
- a handful of mint leaves
- 1 large chopped green chilli
- salt and pepper to taste
- 1 tsp brown sugar (how come you taste so good?)
- 2 tbsp thick greek yoghurt

1. Whizz all of this up in a blender along with the yoghurt!


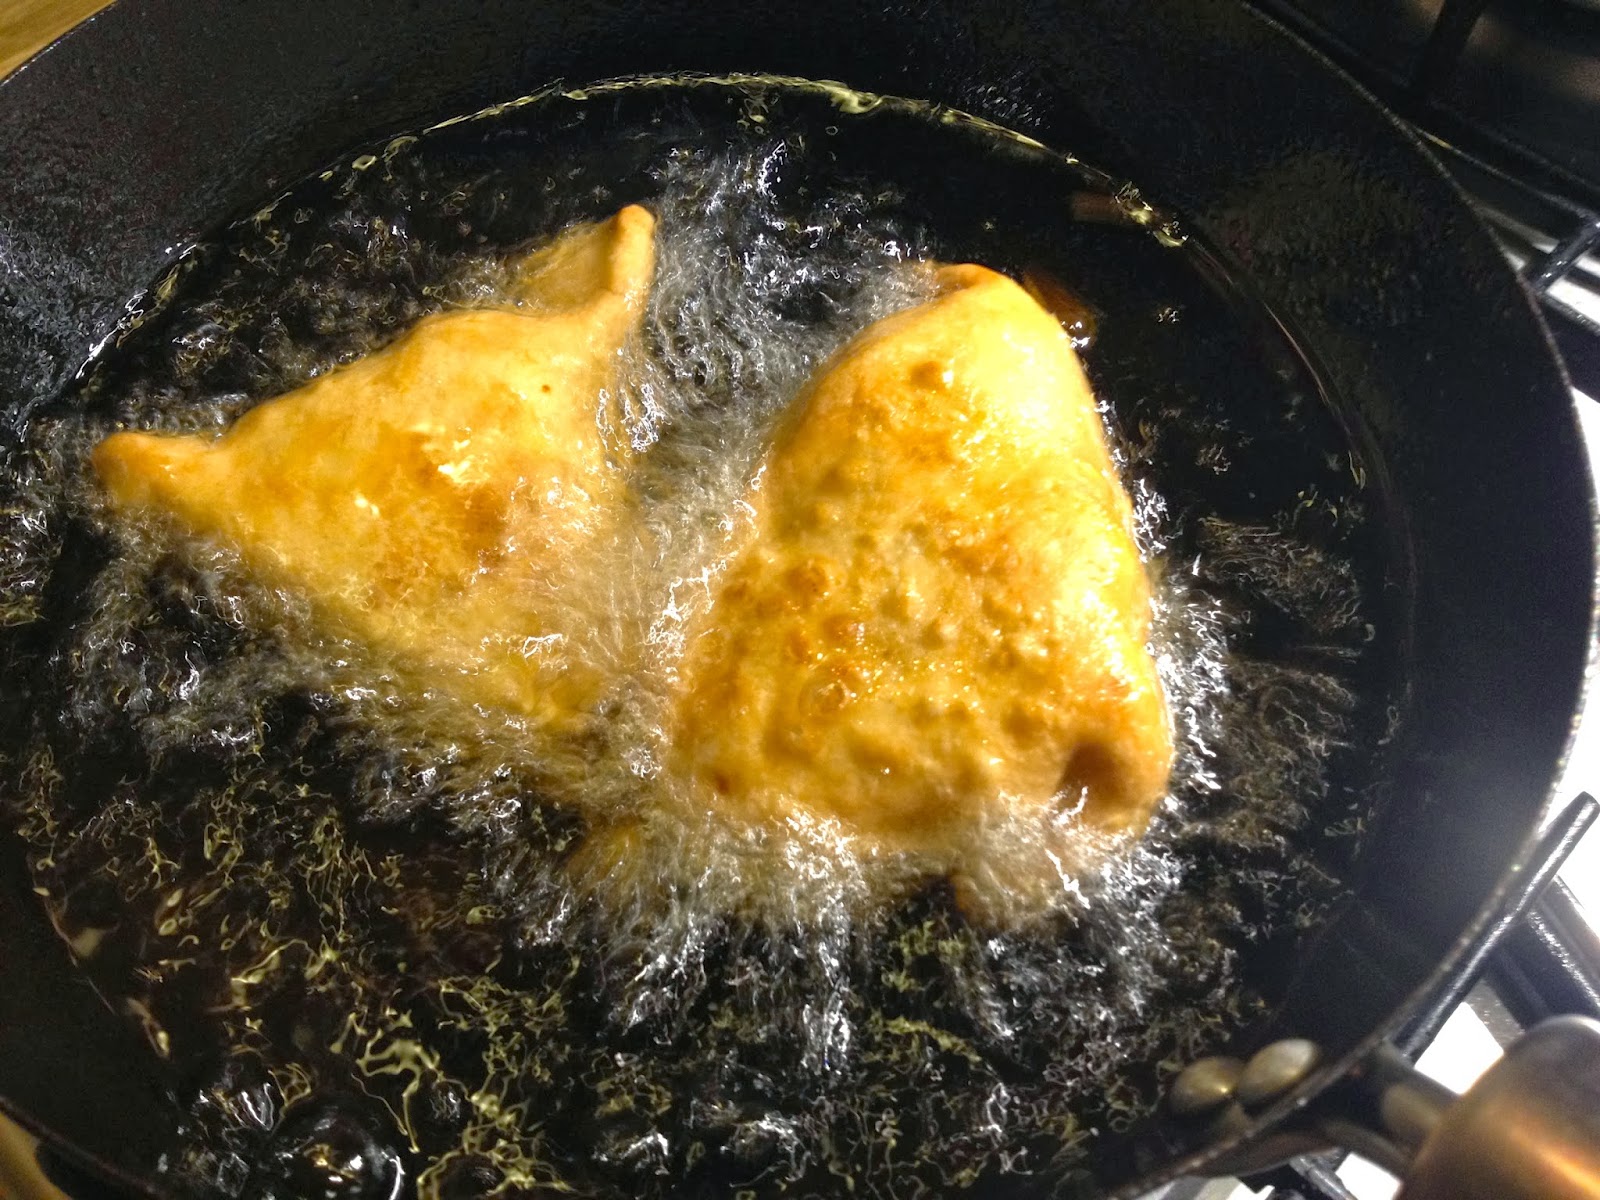
2. Get some oil up to temperature in a wok for deep frying. Some might say that you could actually bake these in an oven. I say to thee, bake if you like but that's not a samosa! So, I'll be deep frying, if you don't mind. It might be slightly more calorific but it's the only way to really crisp up that pasty - and that's what we want! Glad you agree with me.


3. Fry till golden brown (around 5 minutes)


4. Fill your face!

What did this cost?

- filling: around 3.2 zl
- pastry: around 1.2 zl
- dip: around 1.6 zl (for a larger quantity)

Total: 6 zl
Makes: 12 samosas
Per samosa: 0.50 zl

Sunday, 6 October 2013

Sourdough Bread

Tasting this for the first time around a month ago totally transformed the way I look at bread. Forget everything you've ever known - all that was wrong. This is the real thing. This is sourdough bread!


What makes sourdough bread different from normal bread? Well, it's the fact that it's not made with yeast as such (certainly not the kind you'd find in a packet) but rather the naturally occurring yeast in our environment. The kind that ferments fruit juice if you leave it out in the open for long enough.

So, how do you capture this yeast so that you can make bread with it? The easiest way is not to capture it at all but to get a "starter" from a friend who already makes sourdough bread. A "starter" is simply 2 tablespoons of risen pre-cooked dough - before you put the sourdough mix in the oven, scoop out 2 tablespoons and put in a jar. Close the lid and leave at room temperature for 2 days. You can then store in the fridge for 8 days. 

What if you haven't got a friend who can give you the "starter"? Well, you'll have to make your own! Combine a tablespoon of flour with a little water in a jar to make a thinnish mix. Cover with a tea towel and leave at room temperature. After around 7 days, it should have started to ferment - you can tell by the "yeasty" smell. Add a little more flour and leave. Repeat for 3 days. You now have a starter. You can tell if it's worked by:

a) the smell
b) it should have little bubbles
c) it should have risen slightly

If you don't get a,b and c, then just try again - it will work in the end.

Once you get this bread right, you'll never want to buy bread from a shop ever again. Trust me on that! The taste is divine. The loaf will feed one person for around 5 days and it will not go bad in any way in those 5 days. Day 5 will taste like day 1. 2 slices and you're satisfied for hours after. It's the real ingredients, you see. And those seeds - full of essential minerals and fats. Flax is rich in Omega 3, to give just one example.

Cost per loaf: 5 zl

What you'll need:

- 2 tbsp of "starter"
- 500g of regular flour
- 200g of rye flour
- 4 tbsp of bran
- 4 tbsp of oats
- 2 tbsp of pumpkin seeds
- 2 tbsp of flax seeds
- 2 tbsp of sunflower seeds
- 2 tsp of salt
- 0.75 litres of lukewarm water

Let's do it!

1. Get the water in a pan


2. Mix up the flours, seeds and salt in a bowl


3. Check the water in the pan is in fact lukewarm (if your little finger can stand it for 10 seconds) and add the "starter"


4. Mix well with an egg whisk


5. Mix in the flours and seeds


6. Leave overnight (or for 8-10 hours) covered at room temperature.

7. Butter up a bread dish and scoop the mix into it


8. Scrape out the remains of the mix from the pan into a jar - this will be the "starter" for your next loaf!


9. Your oven should be up to around 200 degrees - get the dough in!

10. Take out the bread exactly 60 minutes later and enjoy!

What did this cost?

- regular flour: 1 zl
- rye flour: 1 zl
- seeds and the rest: 3 zl

Per loaf: 5 zl